
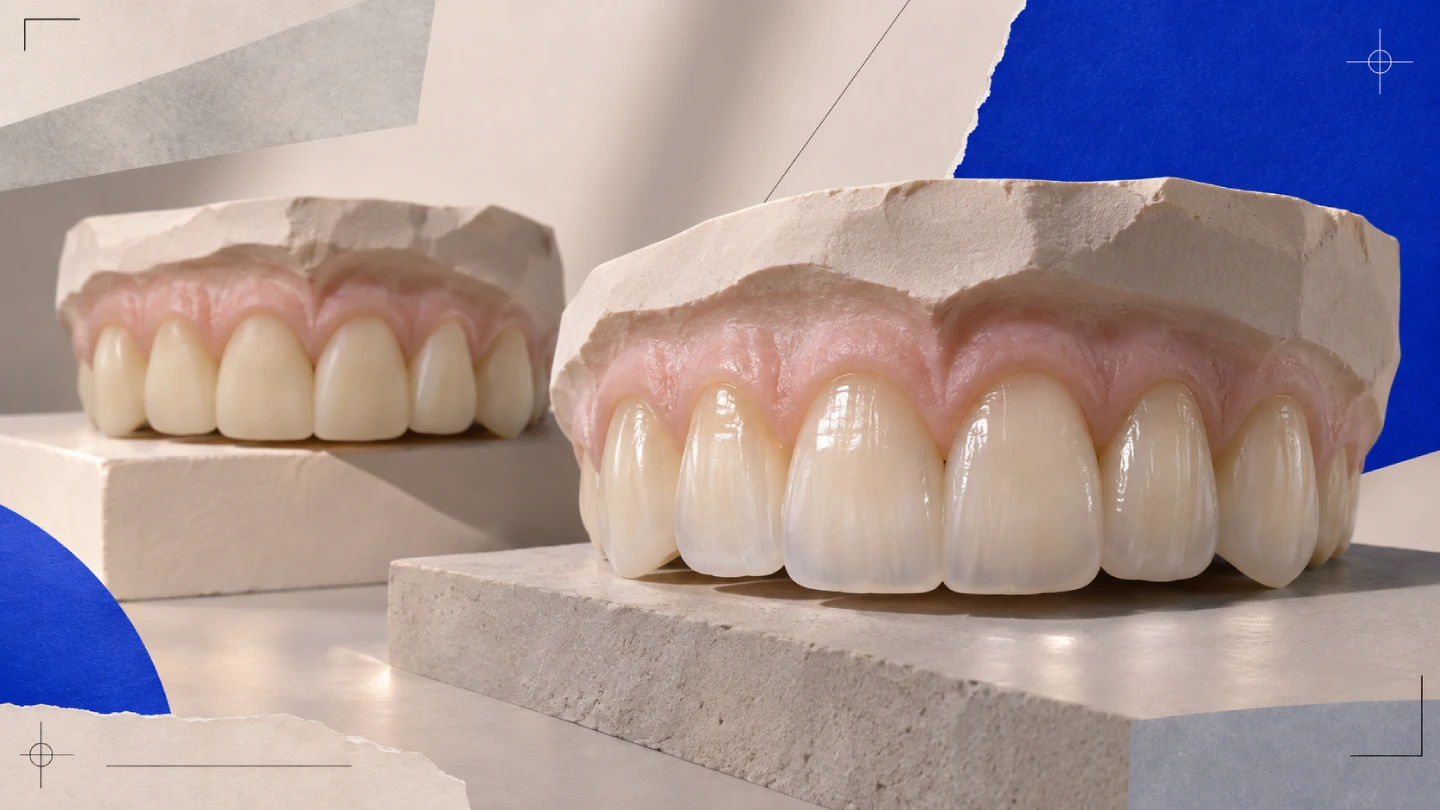
A temporary veneer is the version the patient wears for two or three weeks while the permanent one is being made. The two aren’t separate products — they’re sequential stages of a single case. Shade, contour, occlusion, phonetics, and tissue response get verified at the temporary; whatever goes wrong there will carry into the permanent unless it’s caught in the interim.
Material and Clinical Baselines
Permanent veneers are definitive bonded restorations, most often porcelain — feldspathic or lithium disilicate, with layered zirconia reserved for high-load anterior cases. Published 10-year clinical data for porcelain laminate veneers show high retention; see the systematic review of survival rates and a 20-year clinical performance study for the specific figures.
Temporary veneers sit on the prepared tooth between preparation and seating. They’re fabricated from bis-acryl, dual-cure composite, or milled or printed PMMA. Research on the mechanical properties of provisional materials explains why these materials behave differently from a glass-ceramic — flexural strength and water sorption are both an order of magnitude lower, which is why temporaries chip, stain, and look flatter than the final.
Pulp vitality trends down as the interim restoration stays in; one clinical study tracks this directly. A temporary dental veneer is a two-to-three-week tool, not a long-term restoration. Removable snap-on products sold directly to consumers are a separate product category and aren’t covered here.
Space and Material Minimums
The question that decides most cases is whether there’s enough room for the chosen material. Working ranges for the preparations our ceramic and milling departments can finish without compromising margin integrity:
Material | Facial minimum | Incisal minimum | Typical use |
|---|---|---|---|
Feldspathic porcelain | 0.3–0.5 mm | 1.0 mm | Highest-translucency anterior single units; needs good substrate color |
Lithium disilicate (e.max) | 0.5–0.7 mm | 1.5 mm | Default for anterior esthetics; good strength-to-translucency ratio |
Layered zirconia (anterior) | 0.6–0.8 mm | 1.5 mm | Darkened substrates, bruxers, long-span cases |
The specific range for a case depends on substrate color, chosen material, and whether the incisal is a window, butt-joint, or incisal-wrap preparation. The clinical principle is covered in the minimally invasive microscopic preparation literature and in incisal preparation design research.
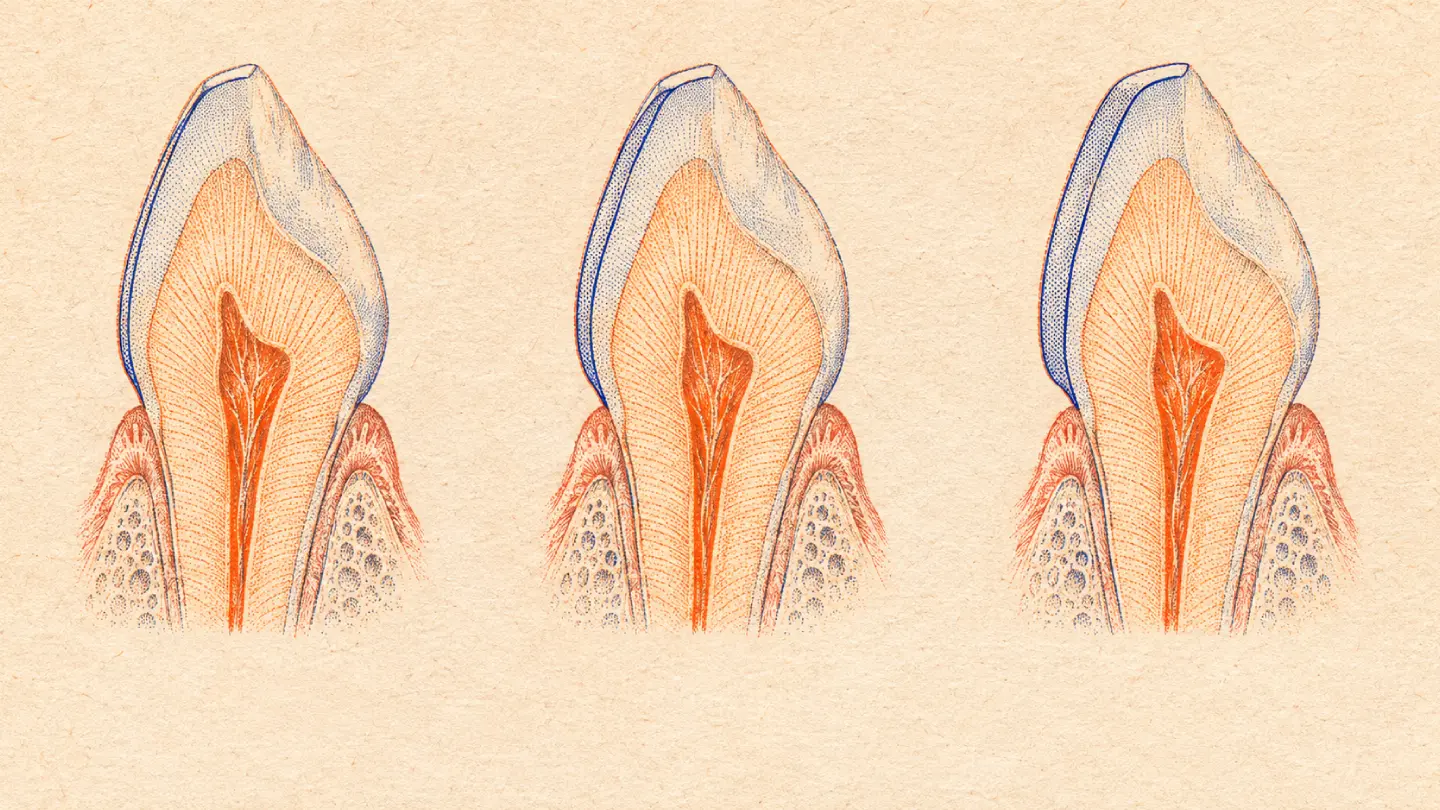
Every shade step up from the substrate adds about 0.2 mm of required reduction to block out the color while preserving translucency. Moving from an A3 substrate toward a BL target is several shade steps — enough added depth that it can change the material decision. Thickness, strength, and esthetics trade against each other: thickness is the lever, translucency and strength pull against each other, and the esthetic result sits on top of a bond that has to hold.
Required inputs before preparation:
- Pre-op intraoral scan or model, not only the prepped scan
- Substrate shade read from stump color, separate from the target shade
- Photos of the target with a shade tab in frame, under color-corrected light
- A note on whether the incisal is window, butt-joint, or incisal-wrap
Preparation thinner than the material minimum, without a clinical reason to accept it, surfaces at milling. The result is a design where the margin had to be thinned or the minimum thickness overridden, and the ceramic will underperform the published survival numbers because it’s thinner than the material was engineered for.
Impression, Scan, and Shade Submission
Istar accepts both physical and digital workflows. For physical impressions, VPS and polyether. Alginate isn’t accepted for international shipping — it dehydrates and distorts in transit. For digital, the CAD team receives files from Trios (3Shape), iTero, Medit Link, Primescan, Shining 3D, DEXIS, DS Core, Panda, and anything that outputs STL, including via WeTransfer or a shared link.
A veneer case needs more than the usual crown-and-bridge submission:
Required | Purpose |
|---|---|
Pre-prep scan or model | Form reference for the temporary and the final |
Prepped scan | CAD design |
Opposing arch | Occlusion and incisal guidance |
Bite registration in maximum intercuspation | Occlusal design |
Substrate (stump) shade | Material thickness decision |
Target shade with tab-in-frame photo | Ceramist’s layering reference |
Full-face smile, retracted, and profile photos | Midline, incisal plane, lip line |
Diagnostic wax-up or mock-up (physical or digital) | Form template |
The wax-up carries the clinical rationale documented in the ScienceDirect overview on diagnostic wax-up. Without it, the temporary is designed from a blank, and whatever gets fabricated becomes the de facto form proposal.
Scanning notes from the lab side:
- For a long anterior span, scan in one direction with at least 30% overlap, and include two or three teeth distal to the preps on each side. Non-linear scanning compounds stitching error across the arch.
- Alginate distorts enough in transit that it often isn’t usable above a single unit. If alginate is the only option, scan the impression before shipping and send the scan too.
- If the pre-prep scan is missing, the lab will ask. Form isn’t inferred from the prepped scan.
Temporary Fabrication
Two legitimate paths, each with downstream consequences.
Chairside direct. Bis-acryl in a putty matrix taken from the wax-up or pre-op model, trimmed and spot-polished. Fast, workable for one to four units, with the margin and emergence driven by the matrix. Chip rate and marginal fit depend on the matrix and the material; a literature review of provisional restoration deficiencies catalogs the usual failure modes.
Lab-fabricated (indirect). Milled or 3D-printed PMMA from the digital wax-up, finished and returned to the clinic for cementation. More lead time, improved margin integrity, and the form the patient wears becomes the design file for the final. A clinical review of CAD/CAM and 3D-printed PMMA accuracy covers the dimensional performance of each route.
At Istar, PMMA is a standard provisional material (Ivoclar and Aidite in the materials library). When the lab makes the temporary, the same digital file carries forward into the final design.
Temporary cement affects final bond strength. A study on provisional cements and bonding documents this directly. Eugenol-containing material needs to come off before etching — not only visibly, but chemically. Spot-etching with flowable (a retention method for short-span cases) requires a different enamel workup at the final appointment than a tooth that saw TempBond.
Try-In Verification
Four verification points at try-in, with pass/fail lines rather than impressions:
Occlusion. At centric, even contact across the arch, no interference on the veneered teeth beyond what the natural dentition shows. In protrusive, the incisal edges should guide — no posterior interferences, no cantilever on the veneer edge. If central incisor length is changing, phonetics gets verified here: have the patient say “fifty-five” and watch where the lower lip lands.
Incisal position and lip line. With the lip at rest, 1–3 mm of incisal display is the usual working range. At full smile, the incisal plane should follow the lower lip curve. If the temporary sits above the lower lip at rest, the final will too; shorten at try-in, not after seating.
Interproximal and tissue response. Papillae should not be blanched after a few minutes of wear. Blanching indicates emergence is too flat or interproximal is overcontoured — research on gingival inflammation around provisionals tracks the inflammatory signaling pattern. Dark triangles indicate the opposite: the interproximal is scooped and needs to come out further.
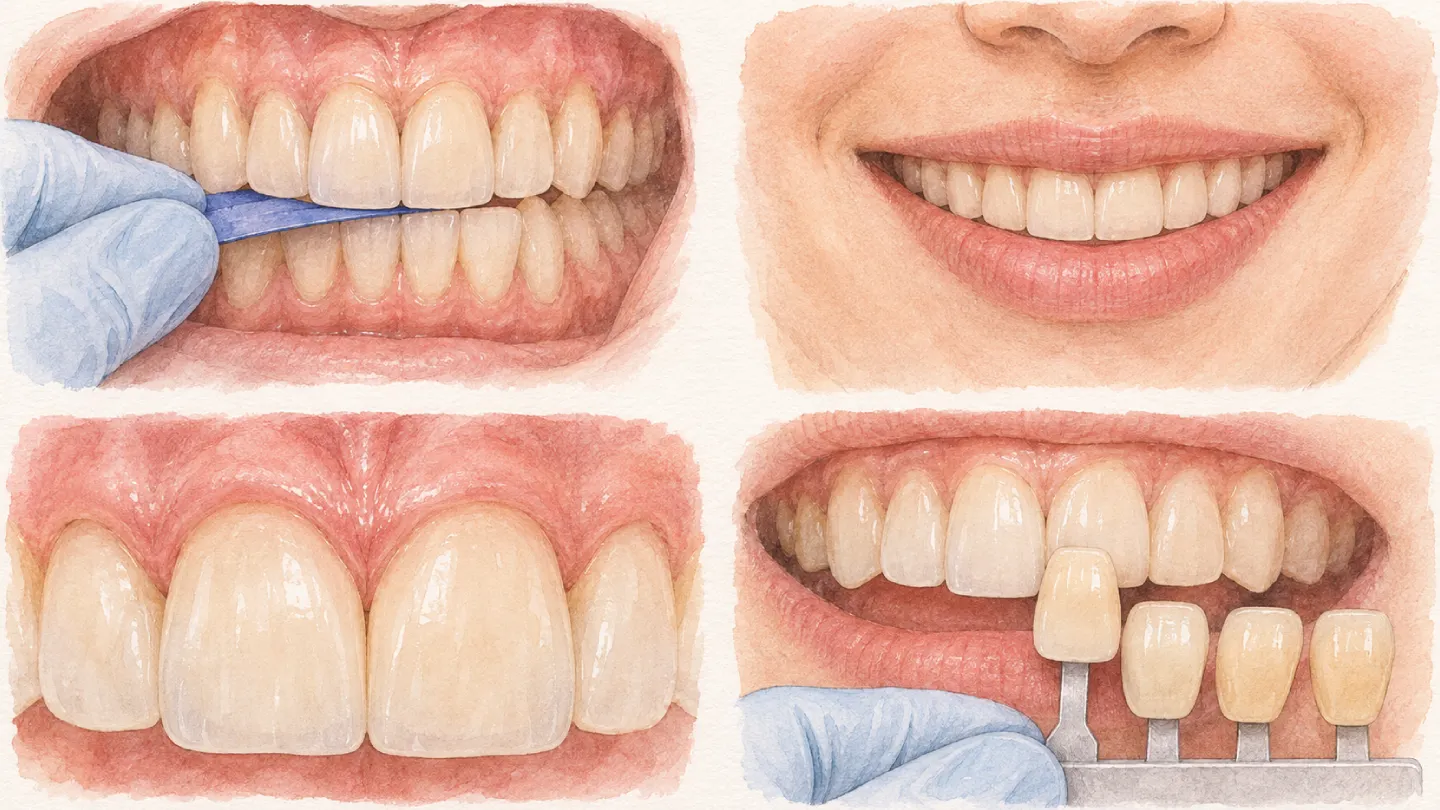
Shade read against the temporary. Send a photo of the patient wearing the temporary alongside the chosen shade tab, under the same light agreed on at submission. The temporary is the first physical object the patient has seen on their teeth; adjustments made at this point avoid shade remakes after seating.
Design revisions before CAM begins are included — one design round plus two revisions is standard. After CAM has started, adjustments are still possible but may extend the schedule.
Final Fabrication and QC
Between try-in approval and ship date:
- CAD design finalized against the approved temporary form
- Material confirmed against the stump shade
- Milling and sintering, or pressing and layering, depending on the ceramic
- Shade applied — layered, stained, or both, matched against the approved photo
- Glazing and polishing
- QC: margin, contact, occlusion marked on the solid model; shade read under D65 light; surface texture compared against the reference photo
- Final inspection and release
Zirconia requires a zirconia-rated polishing system after any adjustment, because the surface work-hardens. Glass-ceramic requires a two-step diamond polish, with a re-glaze where possible rather than a bur-polish.
For six or more units, batch and shade consistency is held through client-confirmed reference photos, locked material batches, and inter-batch sample checks before release. Multi-unit color drift typically traces to a batch-mixing issue rather than the shade call itself.
Delivery, Bonding, and Remakes
Standard in-lab production for conventional crown-and-bridge work is 2–3 working days. A veneer case with a wax-up and lab-fabricated temporary runs longer because of the extra try-in cycle — plan on 2–3 working days for the diagnostic wax-up stage, 2–4 for the PMMA try-in stage, plus the ceramic production after approval. Working days are what the lab counts; weekends and Chinese public holidays don’t run production. Time spent waiting on design approval or missing records isn’t counted — the clock restarts when the file is complete and approved.
Rush case handling is available on request for any case type without a surcharge, with a committed arrival date at acceptance. Status notifications are sent at design completion, production completion, and shipment, with the tracking number attached to the shipping notice.
Shipping goes through DHL, FedEx, UPS, or SPIDER (France). Insurance is off by default and can be added for a fee; the payout cap is the lab fee or declared value, not downstream costs. Clearance, duties, and remote-area delivery aren’t included in transit estimates — those depend on the receiving side. Veneers ship individually sealed and cushioned; implant parts and small components ship in separately labeled bags matched to the case number. Address changes before the package is sealed are possible; once it’s with the carrier, address changes go through the carrier.
Bonding is clinic-side, but the lab’s work affects what the chair sees:
- For lithium disilicate and feldspathic veneers: 5–9% hydrofluoric acid per the material instructions, silane, light-cure resin cement. Published bonding protocols for lithium disilicate cover the sequence.
- For layered zirconia: HF etching doesn’t apply the same way; surface prep is tribochemical silica coating or an MDP-containing primer, then dual-cure resin cement.
- Isolation with a rubber dam makes a measurable difference in bond durability.
Remake policy, in short. Lab-side issues — margin, contact, occlusion, seating, shade against the approved target, or form against the approved design — are remade or adjusted at no charge. Reports are requested within 24 hours of receipt, with the case number and photos. Remakes typically turn around in 3–5 working days.
Patient-driven changes after approval (shade, material) and redos on impressions flagged as poor run as new cases. See the full remake policy for exclusions, escalation after a repeat issue, and refund terms.
Cases That Warrant a Different Plan
Three patterns where the lab will send back a proposal rather than mill the file as submitted:
- Preparation thinner than the material minimum, with no clinical reason to accept it. Options are a different material that works at that thickness, or additional reduction. Overriding the material minimum to fit the ceramic to the prep is where ceramic failures start.
- Posterior single veneer on a bruxer without an occlusal plan. Zirconia is an option in these cases, with a bite guard in the plan.
- Full-arch digital case without a verification jig on long implant-supported segments. The scanning literature on cumulative stitch error indicates verification is required above a certain span for a passive-fitting final.
Frequently Asked Questions
Are temporary veneers included in the price of the permanent veneers?
Not by default on the quote — a lab-fabricated PMMA temporary is a separate line because the material and labor are separate work. Clinics can bundle them when they bill the patient; that’s a clinic-side pricing decision. For an inclusive quote, include the request with the case submission and it will be written into the quote.
How long do temporary veneers last?
Two to three weeks is the clinical working window across the dentistry literature. Shorter when posterior loads are involved; longer only with a specific reason, because pulp vitality trends down as the interim restoration stays in — this is quantified in the clinical research. For cases that will run longer than six weeks, a milled PMMA interim is more appropriate than extended bis-acryl.
How long do permanent veneers last?
Published 10-year clinical outcomes for porcelain laminate veneers show high retention; the systematic review covers the specific numbers across study designs, and 20-year data exists for well-maintained cases. Material, bonding, occlusion, and patient habits all affect that outcome.
What happens if the temporary chips or comes off?
Depends on where and how. A small facial chip that doesn’t affect occlusion or contact: the clinic can smooth and polish, no retreatment needed. A margin fracture or full debond: the patient should return the same day for recementation, because the prepared enamel is exposed and adjacent teeth will begin to drift within hours. Published repair protocols describe the step-by-step for in-office repair where appropriate. A margin fracture isn’t a re-bond candidate — remake the temporary.
Can permanent veneers be repaired?
It depends on where the damage is. Incisal chip under 2 mm in a resin-friendly location: intraoral composite repair is reasonable, with shade drift over time. Interproximal fracture, margin failure, or multiple chips in one unit: remake. The repair literature for provisional and definitive restorations covers the decision criteria.
Why does the temporary look flatter and whiter than the shade choice?
PMMA and bis-acryl have lower translucency, finer internal structure, and no layered chroma — a published overview of provisional materials covers the material science. The permanent (porcelain or glass-ceramic) matches the shade tab because it’s layered and because the material has the translucency the temporary lacks. The temporary’s appearance is an expected intermediate state, and patients should be informed of that before seating.
Can Istar handle only CAD design, or only CAM milling?
Yes. CAD-only, CAM-only, and full-service production are available, with the same QC on each.
Case Submission Requirements
- Pre-prep and prepped scans, or VPS impressions
- Opposing arch and bite registration
- Substrate shade from the stump; target shade with tab-in-frame photo
- Full-face smile, retracted, and profile photos
- Diagnostic wax-up or mock-up where available
- Material preference, if any (feldspathic, lithium disilicate, layered zirconia)
- Temporary approach, if any (chairside bis-acryl, lab-fabricated PMMA)
- Patient notes: parafunction, bite guard use, periodontal status
Submit the available records for a quote and a material recommendation. Complex esthetic cases may include a short video call before quoting.
Istar Dental Lab
Istar operates CAD, milling, ceramic and metal, implant, removable denture, and QC departments inside its Shenzhen and Huizhou facilities, with roughly 460 employees across the production floor. Istar has served over 400 dentists, more than 100 clinics, and over 50 partner labs across the US and Europe since 2012. Factory visits and video audits can be arranged.